

Siding Around Windows and Doors: Where the Water Goes
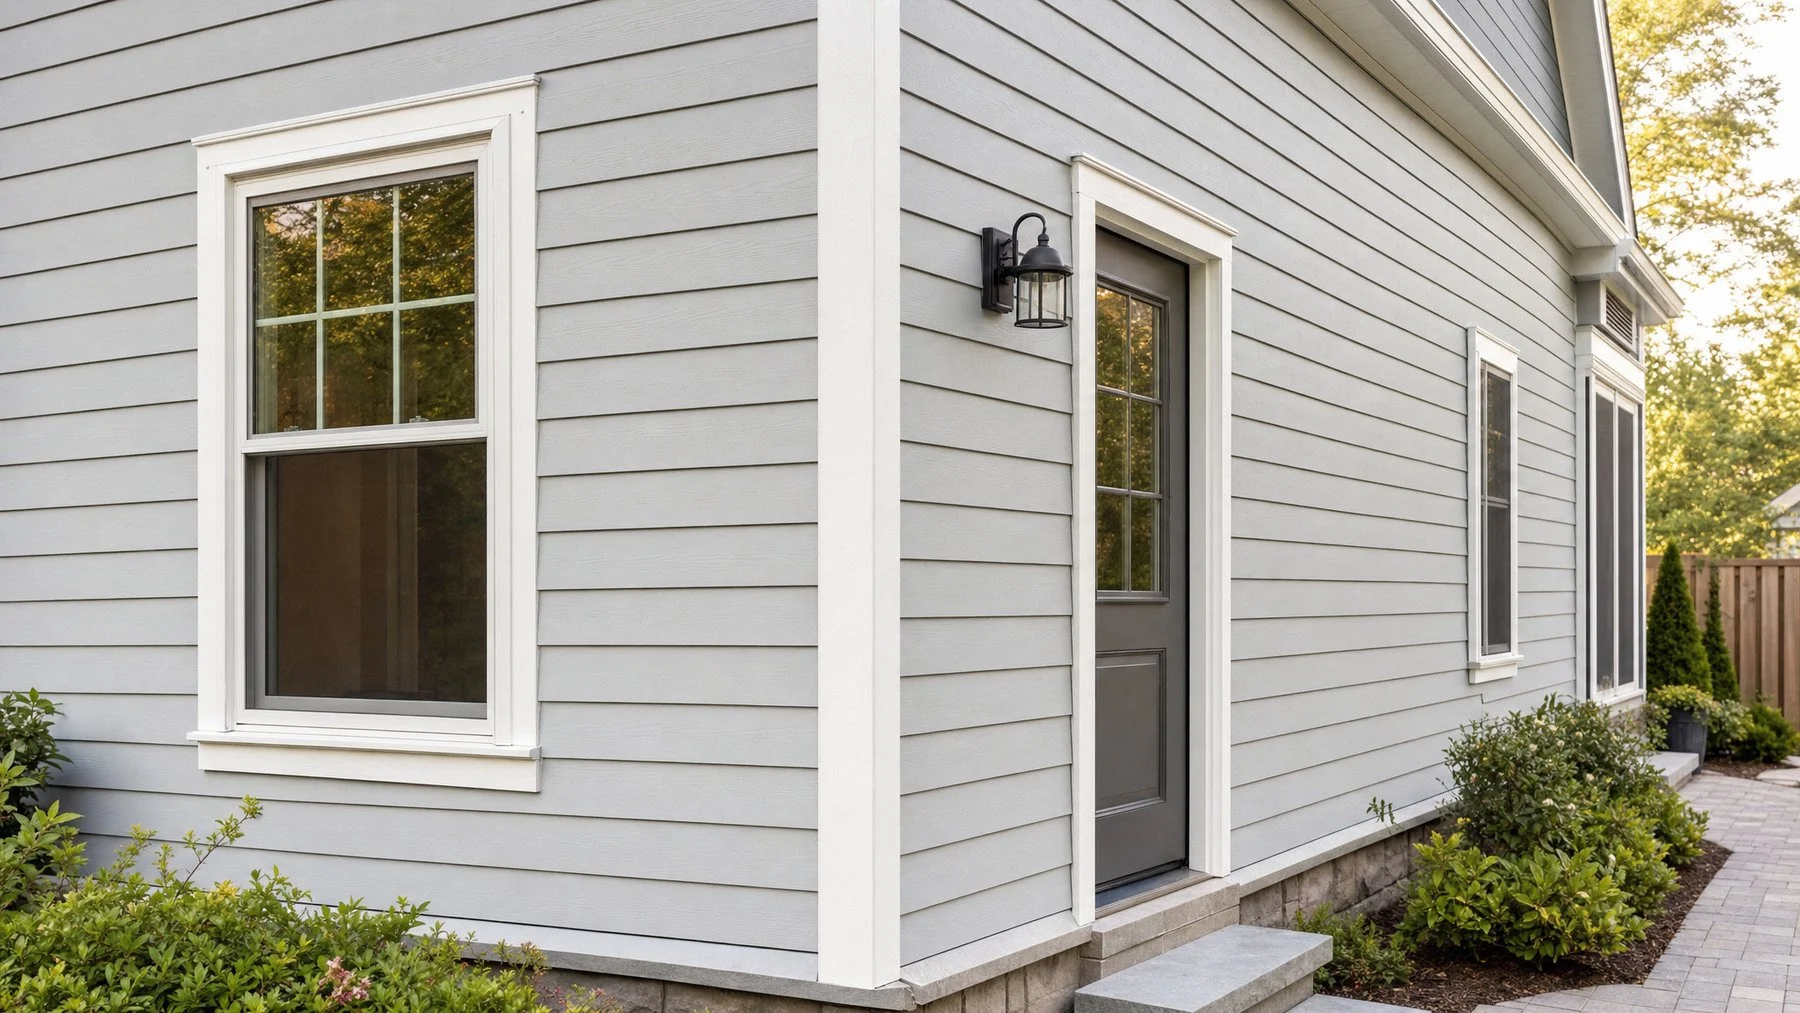
Illustrative image. Not a photograph of a Peace of Mind Exteriors project.
New siding around windows and doors can look neat and still leave a weak water path behind the trim. The visible joint is only the finish. Under it, the window or door opening has to connect with the wall's water barrier and flashing so incidental water can move outward. When you compare siding proposals for an Oakville home, ask how the crew will handle those layers before discussing the final trim colour.
Peace of Mind Exteriors' Oakville siding service describes checking housewrap and flashing as part of siding work. The practical goal is to see the condition of the existing wall around each opening, then write down what will be retained, repaired or replaced. A photograph of new trim alone cannot show that work.
The opening has more than one edge to protect
A window interrupts the siding and the water barrier. Water that gets past the outer cladding needs a path back outside. The Polymeric Exteriors installation guidance says flashing should be integrated with the water resistive barrier around windows, doors and other openings. That is why a siding quote should identify the work at the sill, sides and head of an opening, rather than treating trim as the entire moisture detail.
A finished trim joint only shows where the outer pieces meet. It cannot show whether flashing behind them overlaps the water barrier in a way that sends water outward. The detail has to be assessed for the actual window or door and the products in use. A tidy bead of sealant is not evidence of the concealed connection.
Walk the head, sides and lower edge with the installer
Look at each opening on the wall rather than assuming all windows have the same detail. A deep window recess, shallow trim and a door threshold meet the siding in different ways. During a site visit, point to the upper edge, each side and the lower edge, then ask the installer to describe the water path in plain language.
- Above: What directs water outward before it reaches the window or door head, and how does that piece meet the barrier above it?
- Beside: How do the side flashings join the barrier, and which trim pieces must come off to make that connection visible?
- Below: Where can water leave the lower edge rather than being trapped behind the siding or trim?
These are questions for the installer, not instructions to design the flashing yourself. The Polymeric Exteriors horizontal siding guide illustrates how cut panel edges are secured beneath a window. That visible finish does not replace the water detail behind it. The correct sequence depends on the opening and the manufacturer's instructions.
Give door thresholds their own check
A door's lower edge is a working threshold, not simply another piece of window trim. Ask how the siding and barrier meet the threshold and where rainwater leaving that area will drain. Also ask whether the existing door is staying: replacing it during the same project may change who completes the threshold transition. The crew should identify that responsibility before either finish is closed up.
If a window or door is being replaced at the same time as the siding, ask which crew handles the join between the new unit and the wall barrier. If the opening stays, ask how the new cladding will connect to the existing detail without assuming the old trim proves that detail is sound. Peace of Mind Exteriors can review those transitions through its exterior crew.
Request a written exterior assessment. If you are planning siding work around windows or doors in Oakville, show the crew the openings that concern you and ask for the barrier and flashing scope in writing. Contact Peace of Mind Exteriors to arrange a visit.